


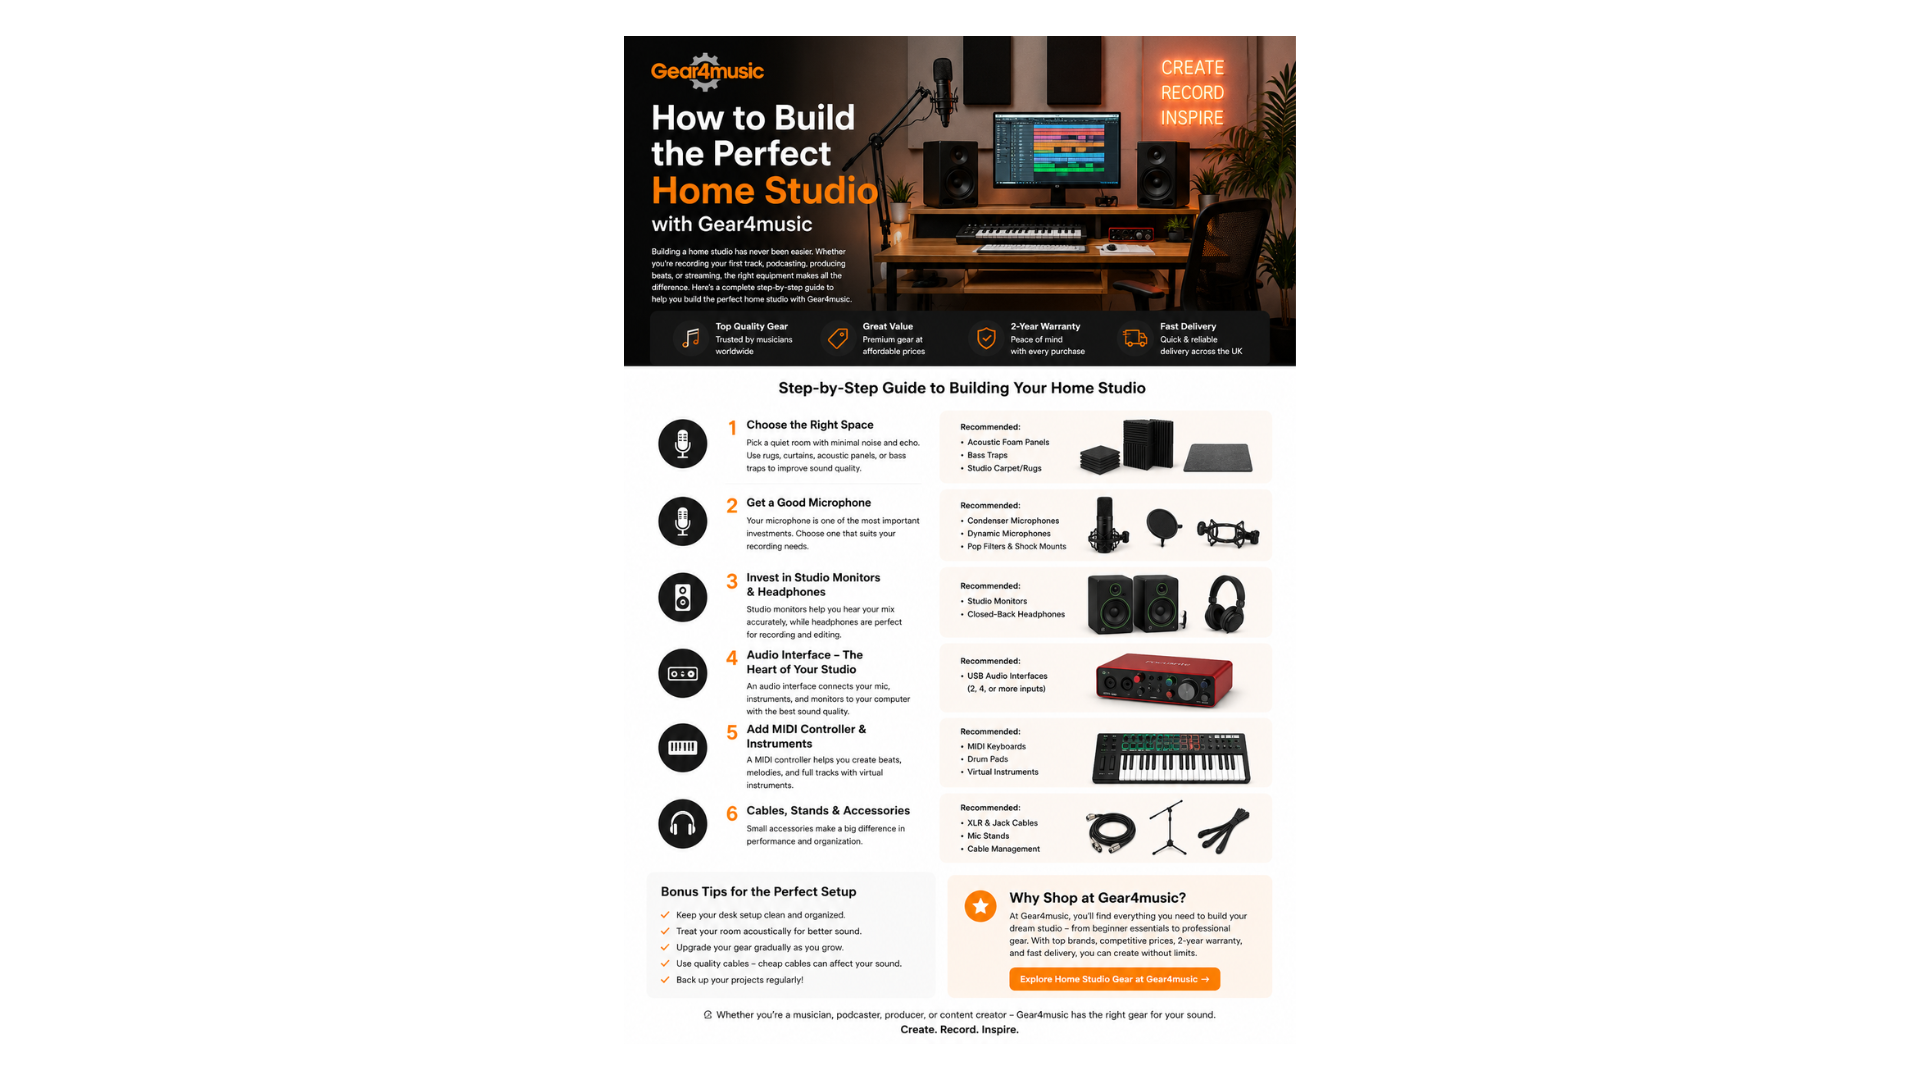
Building a home studio is one of the best investments you can make as a musician, producer, podcaster, or content creator. With the right equipment and setup, you can record vocals, produce music, mix tracks, and create professional-quality audio without needing to book an expensive commercial studio.
The good news is that creating a capable recording space doesn’t necessarily require a huge budget. Gear4music offers a wide selection of recording equipment, microphones, audio interfaces, studio monitors, headphones, MIDI controllers, and accessories that can help you build a setup suited to your experience and budget.
Whether you’re creating your first bedroom studio or upgrading an existing setup, this guide explains how to build the perfect home studio with Gear4music step by step.
1. Choose the Right Room for Your Home Studio
Before buying equipment, think carefully about where your studio will be located.
You don’t necessarily need a dedicated professional studio room. A bedroom, spare room, office, or other quiet space can work well with thoughtful planning.
When choosing your room, consider:
- Outside noise and traffic
- Echo and natural room reflections
- Available electrical outlets
- Space for a desk and equipment
- Ventilation and comfort
- Whether you need to record vocals or instruments
If possible, avoid extremely empty rooms with lots of hard surfaces, as these can create unwanted reflections during recording and mixing.
Once you’ve selected your space, you can start choosing the equipment needed to turn it into a functional recording environment.
2. Start with a Reliable Computer
Your computer will be at the center of most modern home studios.
It runs your Digital Audio Workstation (DAW), virtual instruments, plugins, and recording software.
When choosing or evaluating a computer for music production, consider:
- Processor performance
- RAM
- Storage capacity
- Available USB or Thunderbolt connections
- Compatibility with your preferred recording software
You don’t always need the most expensive computer available. Beginners can often start with an existing laptop or desktop and upgrade later as their projects become more demanding.
3. Choose an Audio Interface
An audio interface is one of the most important pieces of equipment in a home recording studio.
It connects microphones and instruments to your computer while converting audio signals into digital information your recording software can process.
When browsing audio interfaces at Gear4music, consider:
- Number of microphone inputs
- Instrument inputs
- Headphone outputs
- Monitor connections
- USB connectivity
- Recording resolution
For a simple bedroom studio, a compact two-input interface may be enough.
If you plan to record several musicians or instruments simultaneously, you’ll likely need an interface with additional inputs.
What Should Beginners Look For?
A beginner-friendly audio interface should ideally offer straightforward controls, reliable connectivity, and enough inputs for your immediate recording needs.
Avoid paying for significantly more inputs than you’re likely to use.
4. Find the Right Studio Microphone
Your microphone can have a major impact on recording quality.
Different microphones are designed for different purposes, so the best option depends on what you plan to record.
Gear4music offers microphones suitable for vocals, instruments, podcasts, streaming, and other recording applications.
Condenser Microphones
Condenser microphones are commonly used for:
- Vocals
- Acoustic guitars
- Voiceovers
- Podcasts
- Detailed instrument recordings
They are sensitive and capable of capturing subtle details, making them popular in controlled home studio environments.
Dynamic Microphones
Dynamic microphones are often suitable for:
- Guitar amplifiers
- Drums
- Live vocals
- Louder sound sources
They’re generally durable and can work well in rooms where acoustic treatment is limited.
Your recording goals should determine which microphone type makes the most sense.
5. Invest in Quality Studio Headphones
A reliable pair of headphones is essential, particularly if you record vocals or work in a shared living environment.
Studio headphones generally fall into two main categories.
Closed-Back Headphones
These are particularly useful for recording because they help reduce sound leaking from the headphones into the microphone.
Open-Back Headphones
These can provide a more spacious listening experience and are often preferred for detailed mixing, although they’re less suitable when recording near an active microphone.
Gear4music stocks studio headphones across different price ranges, making it possible to find options for beginners as well as more experienced producers.
6. Add Studio Monitors for Accurate Mixing
Regular consumer speakers are often designed to make music sound more exciting by boosting certain frequencies.
Studio monitors have a different purpose.
They’re designed to provide a more accurate representation of your audio, helping you make better decisions when adjusting:
- Bass
- Vocals
- EQ
- Compression
- Stereo positioning
- Overall mix balance
When choosing studio monitors, consider your room size.
Large monitors aren’t automatically better. Compact monitors can often be more appropriate for smaller bedroom studios.
Proper placement is also important. Ideally, your listening position and two monitors should form an approximate triangle, with the speakers positioned appropriately for focused listening.
7. Choose a MIDI Keyboard or Controller
If you plan to produce electronic music, create beats, or use virtual instruments, a MIDI controller can dramatically improve your workflow.
MIDI keyboards allow you to control software instruments such as:
- Virtual pianos
- Synthesizers
- Drum machines
- Orchestral libraries
- Software samplers
Gear4music offers compact MIDI controllers for smaller desks as well as larger keyboards for musicians who need more keys.
Beginners with limited space may find a compact controller sufficient for getting started.
8. Improve Your Room with Acoustic Treatment
Buying expensive recording equipment won’t automatically guarantee professional sound if your room has poor acoustics.
Hard walls and empty rooms can create unwanted echoes and reflections.
Basic acoustic treatment may include:
- Acoustic panels
- Bass traps
- Isolation products
- Rugs or carpets
- Curtains
- Speaker isolation pads
The goal isn’t necessarily to make your room completely soundproof. Instead, acoustic treatment helps control reflections inside the room.
This can improve both recording accuracy and mixing decisions.
9. Don’t Forget Essential Studio Accessories
Small accessories are easy to overlook when planning a home studio, but they can make a major difference to your workflow.
Useful studio accessories available through Gear4music can include:
- Microphone stands
- XLR cables
- Pop filters
- Shock mounts
- Speaker stands
- Headphone stands
- Instrument cables
- Desk stands
- Cable management accessories
Why Use a Pop Filter?
A pop filter helps reduce strong bursts of air caused by sounds such as “P” and “B” during vocal recording.
It’s a relatively inexpensive accessory that can help produce cleaner vocal recordings.
10. Organize Your Home Studio Properly
A great home studio should be comfortable as well as functional.
Keep frequently used equipment within easy reach and avoid unnecessary cable clutter.
A simple layout might include:
Computer → Audio Interface → Studio Monitors
Your microphone connects to the audio interface, while MIDI equipment connects to your computer or interface depending on the setup.
Good cable management helps keep your workspace organized and reduces unnecessary distractions.
What Do You Actually Need for a Beginner Home Studio?
It’s easy to overspend when building your first recording setup.
You don’t need every piece of equipment immediately.
A basic beginner setup could include:
- Computer
- Digital Audio Workstation
- Audio interface
- Microphone
- Studio headphones
- Microphone stand
- XLR cable
- Pop filter
You can then gradually add studio monitors, MIDI controllers, acoustic treatment, and additional microphones as your skills and requirements grow.
This approach allows you to invest strategically rather than buying equipment you may rarely use.
How to Build a Home Studio on a Budget
Building a studio doesn’t have to mean buying premium equipment from day one.
Start by identifying your primary purpose.
If you’re recording vocals, prioritize a suitable microphone, audio interface, headphones, and basic acoustic improvements.
If you’re producing electronic music, you might prioritize a MIDI controller, headphones or monitors, and production software.
When shopping through Gear4music, compare specifications rather than choosing equipment based solely on price.
Starter bundles can also be worth considering because they may combine several essential pieces of equipment into one package.
Common Home Studio Mistakes to Avoid
Even with good equipment, a poorly planned setup can affect your results.
Common mistakes include:
- Buying expensive gear before understanding your needs
- Ignoring room acoustics
- Using consumer speakers for critical mixing
- Buying too many plugins immediately
- Poor speaker positioning
- Ignoring cable quality and connectivity requirements
- Upgrading equipment before developing recording skills
Remember that equipment is only one part of producing great audio.
Recording technique, mixing skills, room acoustics, and experience are equally important.
Why Shop for Home Studio Equipment at Gear4music?
One advantage of using Gear4music when building a home studio is the ability to explore multiple equipment categories in one place.
Depending on your setup, you can shop for:
- Audio interfaces
- Studio microphones
- Studio monitors
- Headphones
- MIDI controllers
- Recording equipment
- Acoustic treatment
- Microphone accessories
- Cables and stands
Having access to equipment across different price points also makes it easier to build a studio that matches your current budget and upgrade gradually.
Final Thoughts
Building the perfect home studio isn’t about filling a room with the most expensive equipment. It’s about selecting gear that works together and supports the type of content or music you want to create.
Start with the essentials: a capable computer, audio interface, suitable microphone, and reliable monitoring solution. From there, you can gradually improve your setup with studio monitors, MIDI controllers, acoustic treatment, and additional recording equipment.
With its broad selection of instruments, recording equipment, and studio accessories, Gear4music makes it easier to find the components needed for everything from a simple beginner recording setup to a more advanced home production space.
Take the time to plan your studio carefully, invest in equipment that matches your actual needs, and focus on developing your recording and production skills. A well-designed home studio can become a creative space where you record, experiment, produce, and turn musical ideas into finished projects.